What the Action can do: This Action lets you do the following:
- It lets you set a custom fade effect on a graphic imported into a graphic item.
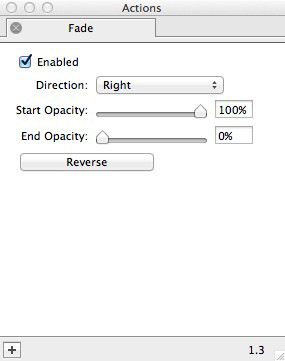
- Enabled: This option is checked by default. When checked you will see a live preview of the effects applied when options are used in the Actions palette. To see a "before and after" of the original image (with and without the Action applied), switch the Enabled option on and off. Remember to leave it checked when you have finished.
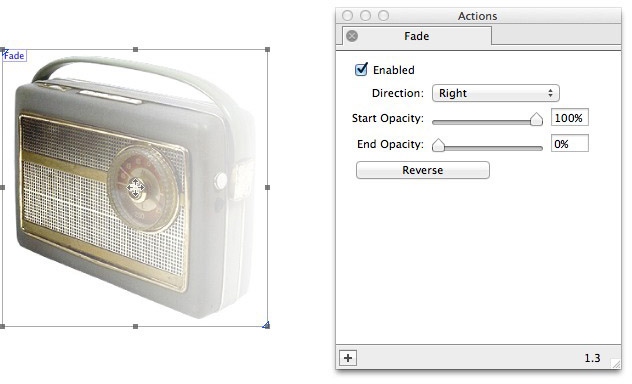
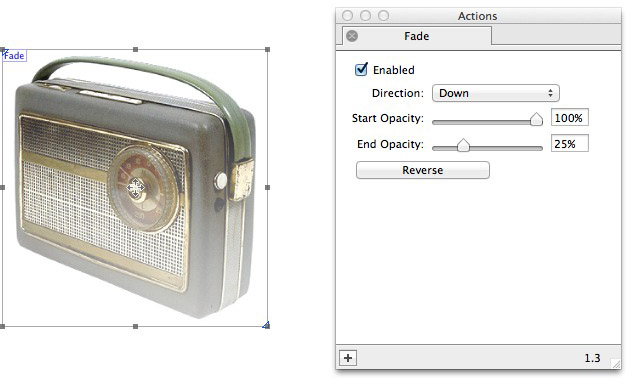
- Direction: Choose between creating the fade effect horizontally (using Right) or vertically (using Down) in this popup. Note that you can make the fade effect go to the left or up depending on which Start Opacity and End Opacity values are chosen (or use the Reverse button).
- Start Opacity: Choose the level of opacity for the start of the fading effect on the image. 100% means that there is no opacity change so it will start with no fade effect. 0% is full opacity, which means it is faded to the point that it is no longer visible.
- End Opacity: Choose the level of opacity for the end of the fading effect on the image. 100% means that there is no opacity change so it will start with no fade effect. 0% is full opacity, which means it is faded to the point that it is no longer visible.
- Reverse: Click on this button to swap the direction (left-right to right-left or top-bottom to bottom-left) of the fading effects.
Examples
Below you can see examples of how the original image (shown first which the Action disabled) will look when the options displayed in the Actions palette alongside each sample has been set up.