My web site was originally designed with Freeway back around the turn of the century. I’ve modified and revised it many times since then, but the underlying structure has remained the same. It relies on absolute positioning for its design and makes extensive use of Freeway actions.
I’m excited about xway, but I don’t really see yet how to use it to recreate the structure of my site. I’ve been trying to wrap my head around the whole idea of a flexible site, and just when I thought I was making some progress, I started hearing about Flexbox. Went to the link and what do I find? Tons of coding. Ugh.
I know xway is still in development, but will there be anything approaching the functionality of Freeway’s actions such as various mouseover/rollover events, hiding and revealing images, etc.
Flexbox is a way to distribute items on a page. We’re planning to support it directly in a future version of Xway, but you can use it by manually adding a few extended style properties. This doesn’t require any real coding. There are some threads on Xway Talk which discuss how to do this. You could also look at the source for the Xway page on our website ( https://softpress.com/xway/ ) and search for “flex”. We added two extended properties (display:flex and flex-direction:row) to three items.
Xway currently supports CSS rollover effects: look up “dynamic styles” in the Xway User Guide (which is available from the Help menu). These are a modern alternative to JavaScript rollovers.
The best way to create a flexible site is to use inflow (relative-positioned) items. A good place to start is by working through the Xway tutorial, which you can download from our website. It’s also worth reading “Appendix 2: Importing an existing website” in the Xway User Guide.
Most of the things that I used Freeway actions for were navigation conveniences that I can find other ways to produce. I’m a retoucher by trade, and what I really need, and haven’t found a way to do it, is to show before/after versions of my work, preferably triggered by a mouseover event. I don’t think the dynamic properties is dynamic enough for this effect. In Freeway I stacked the before image on top, hiding it. It was revealed by the mouse hovering over the image. I checked out Exhebio, and while I will certainly make use of it, I don’t think it is capable of producing this basic effect either. Am I missing something?
Set the container box (div) to have a bottom padding value that is calculated by dividing the height of the image by its width and multiplying by 100% (e.g. 75% for a 1024x768 image)
Select both images and set their width to be 100%
Remove their maximum width (Xway sets a default maximum width of 50%)
Set their position to be absolute
Select just the top image and set its opacity to be 0% (Style section of Box Inspector)
Set a dynamic opacity of 100% for “Hover” in the Dynamic Styles section
Changing the opacity of the top image from zero (transparent) to 100% (opaque) causes it to become visible when the mouse hovers over it. You can also set a duration for the transition from transparent to opaque (see “Dynamic Styles” section of “Styles” chapter).
The first six steps are similar to the method described in the User Guide for setting a flexible aspect ratio for a video iframe (“Video aspect ratio” section of “Iframes” chapter).
Thanks for the information, Jeremy. I’ve set up a test page and produced the desired results, even though I’m still not fluent in the various parameters.
Step 3 in particular. The test image I’m using is 719 x 1080 pixels. Dividing height by width gives roughly 1.5. I’m not clear on what needs to happen to turn that figure into the bottom padding value for the container box.
The easiest way to work this out is using the Calculator app that comes with macOS. But you’re pretty close to the answer. You just need to multiply 1.5 by 100 to get a percentage: 150%.
Using the calculator will give you a more accurate figure: (1080 ÷ 719) x 100 = 150.208623087621697%
If you paste that into Xway, it will round it to two decimal places: 150.21%
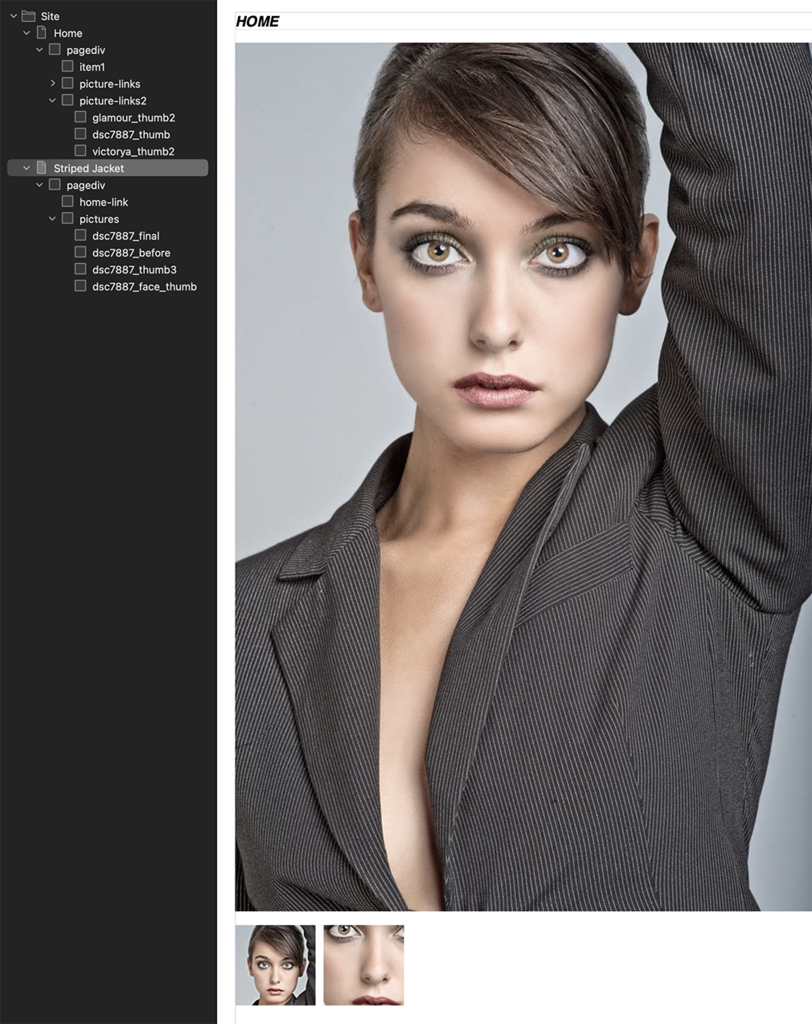
The attached screen shot shows what I’m going for. The large image is a before/after structure. The two thumbnails are each links, one to a close-up shot, the other to the full image (as shown).
This is how I want it to look on the page, but I’ve only managed it so far with absolute positioning for the thumbnails. How would I get all the images on the page within the same “Pictures” box, and positioned as shown?